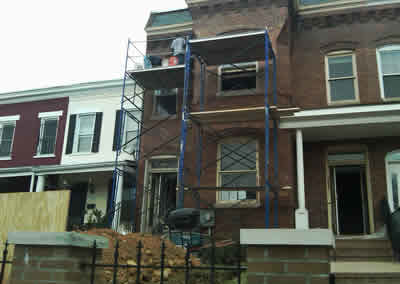
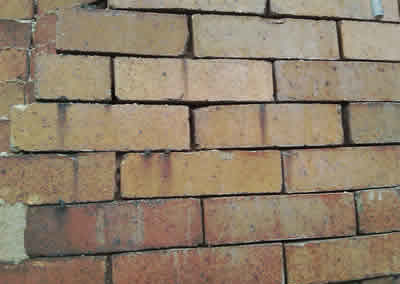
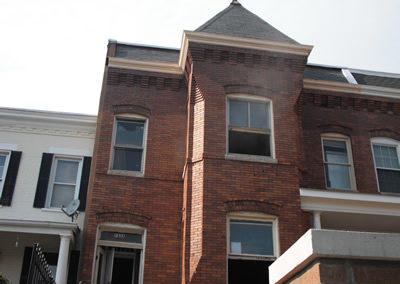
As with many otheraspects of this remodeling project, the exterior brick needed promptattention. While masonry products are some of the strongest materialsin the construction industry (bricks and concrete blocks can last wellover 100 years), they are not exempt from the tax of Father Time.Mortar joints in particular are susceptible to the grind of the naturalelements and typically need attention every 30-40 years.
At 753, the exterior brick work was divided into the following three scopes:
1. Reconfiguring Openings:
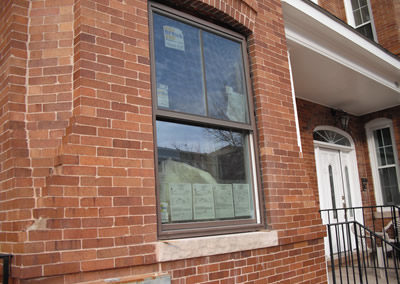
In both the first floor kitchen and the second floor master suite, our blueprints called for exit doors. In both instances, this involved modifying an existing window opening to accommodate a door. From the kitchen, the door opens out to the side yard, and the door from the upstairs master suite opens onto a balcony. Lastly, we enlarged the window in the second floor guest bathroom to allow for more natural light. We were careful to salvage the brick we removed for future use.
2. Rebuilding Window Arches and Bolstering Sagging Brick:
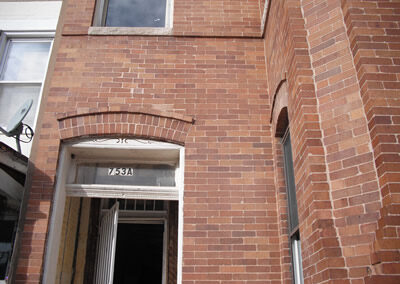
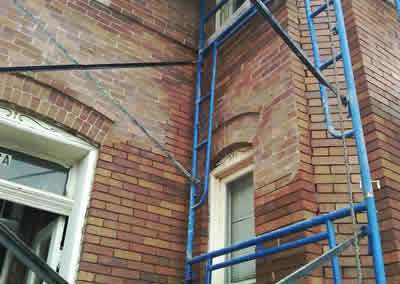
Segmental arches are often used to span openings in brick walls above doors and windows as they support the rows of brick above. At 753 many of the arches over both the doors and windows were crumbling, causing the bricks above to sag (see picture 1 below). Using temporary bracing and bricks salvaged from the door openings, we systematically repaired all the arches and sagging bricks on both the back and front of the house.
3. Re-pointing Mortar Joints
- While re-pointing improves the exterior of a building aesthetically, its structural importance is far greater. Open joints between bricks or blocks allow water to seep into walls, wreaking havoc as it expands and contracts. Therefore, at 753 we re-pointed the mortar joints around the entire house. Re-pointing is done in the following steps:
- Remove crumbling and loose mortar from the joints between individual bricks (mortar should be removed approximately one inch deep).This can be done with hand tools, an electric grinder or a combination of both.
- Mix new mortar taking care to achieve the right consistency (mortar mixed too loosely will fall out of the cracks).
- Pack the mortar into the cleaned joints between bricks and scrape off excess from the face of the bricks.
- Smooth the joint with a “striker” or beveled object.
- Clean the face of the brick once joints have set.
